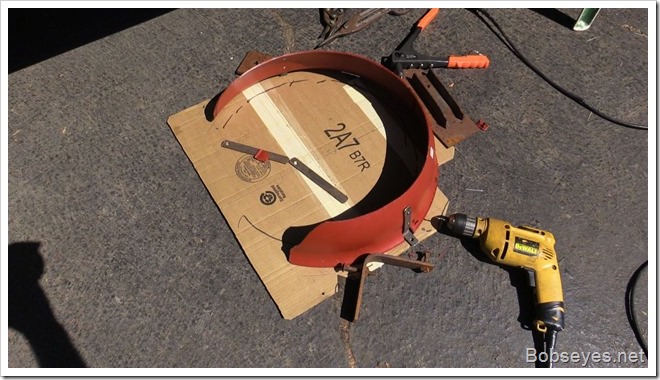
Sunday July 26m 2015 Guerneville CA.
The day started out battling a computer
My plan for the day was to get the new van fan shroud mounted, but I had forgotten my brother Mike was bringing by his new computer for me to help him get the bugs out, so I had to start with that first.
As usual computers take longer than you think to work on. I reinstalled most of his motherboard drivers and uninstalled IE 11 and reinstalled it. At that point I went out in the yard to get started on the van project telling him to work his computer and see if it gets any more errors in event viewer. I looked over the shroud job and got things together before Mike came out to get me to fix one more error. While we were doing this Bill came by for a visit so we stopped and visited for a bit and had a nice visit.
I finally got my brother’s computer error free and he left me to work on the van shroud.
Working on the van fan shroud
This is looking down at the radiator fan and engine. I need to make a shroud around that fan so it pulls more air through the radiator and also acts as a guard which is nice. But the problem is one has to pretty much stand on one’s head to work down there.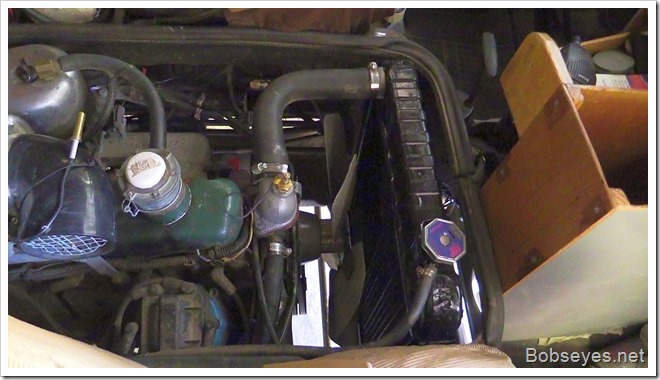
A template is in order
So I made a cardboard template that fit over the fan shroud mounting bolts. I next mounted the cardboard template on the mounting bolts in the van and used a marker pen to trace where the outside of the fan blades hit on the cardboard. I just hold a marker pin on the outside of the fan blades and turned the fan to make the marks. Unfortunately, the fan isn’t quite centered so that makes things more difficult.
Here’s the cardboard template before I marked the outside of the fan marks on it. I punched the mounting holes in it.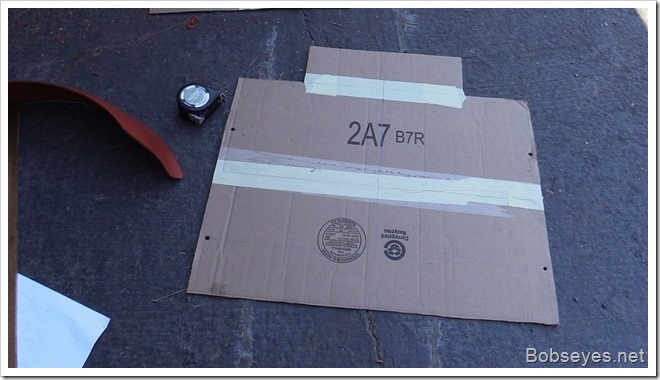
You can see the black marker pen marks I made from the outside of the fan blades. I next needed to put some metal ears on it to mount it. I pop riveted the metal ears to the plastic fan shroud. I made the plastic part from a plastic barrel.
After I put the top two ears on, I tried it in the van. Unfortunately, I didn’t allow enough room for the top of the fan to clear and I got off to a bad start and things didn’t go good from there.
However, I continued to try and make it work, taking much time.
Sometimes things just don’t work out
Here’s the new shroud with the four metal ears attached. unfortunately, using the curved part of the plastic barrel is causing too many interference problems with things. The flared curve is making it too big around and the curved top is getting too close to the fan blades in one spot. It looks good, but.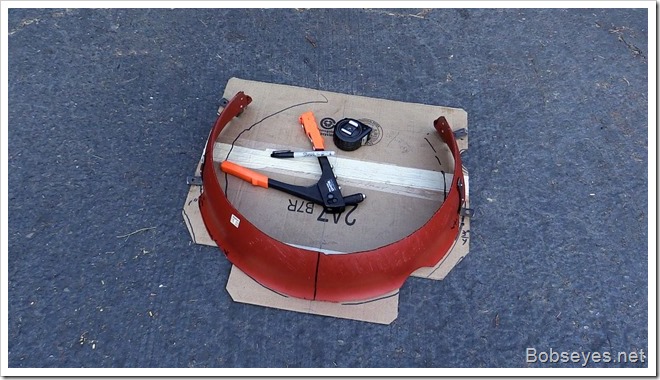
Scrap it and start over
I’m thinking of going to plan B. Scrap that first one and start over. The curves seem to be making this project harder than it should be, so I’m planning to cut out the part of the barrel that is flat so I don’t have to deal with the curves. The flat part of the barrel is really a couple of inches too big in diameter, but I think I can just cut a section out and reduce it’s size. Once I have a straight cylinder to work with, it all should go together much easier. I can use the template I made which should work better with a flat cylinder piece of plastic.
Sometimes, you just have to go through all the wrong motions to get to the final product. That’s just the way it is.
