Saturday May 14, 2016 Cazadaro CA.
Tapping a spring for water
I’m going to go into detail on this as it’s one of the best and most sanitary ways to tap a spring for water that I’ve developed over the years of messing with many springs on old ranches in the area. It’s also the least costly and doesn’t use any big equipment to install and no boxes either.
Video of the process is here, click below.
Low cost, easy to build sanitary spring tapping for water
John takes me to Cazadaro
John was by my house this morning to pick me up and take me over to a ranch in Cazadaro to install a proper spring tab on an old spring for the lady that lives on the ranch, Ann.
John is opening the gate so we can drive onto the ranch and on up near the spring.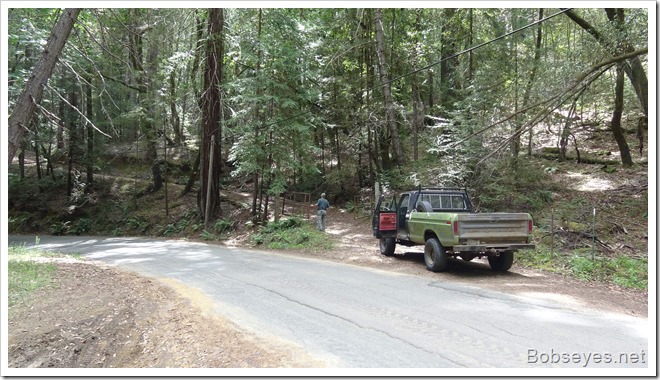
We drove up the hill and parked just short of where the old spring was. John packed up the gear and hauled it to the old spring a couple hundred yards from the truck.
The old spring
This is where the old spring is the redwoods on a hillside.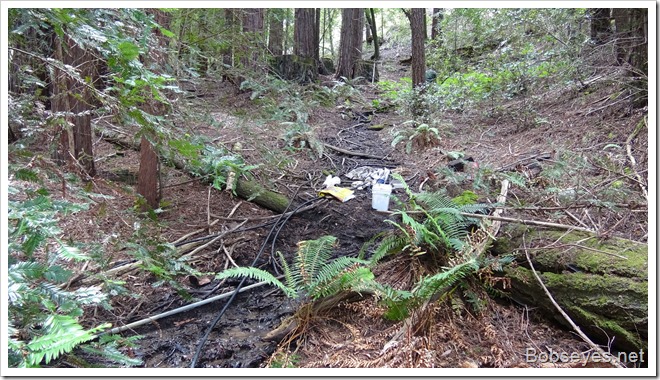
Uncovering the hole
John’s removing the old wood chunks we put on the spring last winter when we did a temporary tap just to get some water for the lady.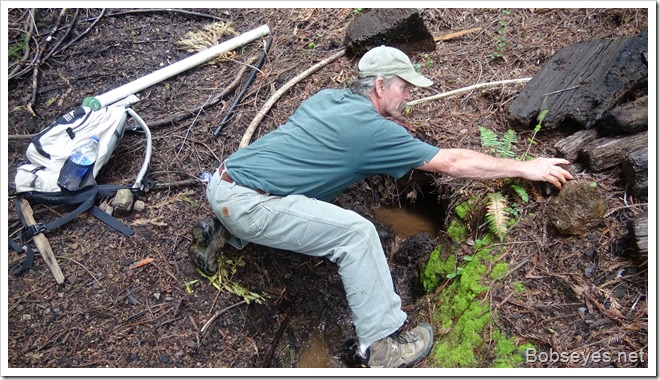
The hole in the ground is where the water is coming out and where we need to work. I’m guessing there’s more than ten gallons of water a minute coming out, but I always over estimate, but at any rate, there is plenty of water coming out of this spring which we measured later at six gallons a minute.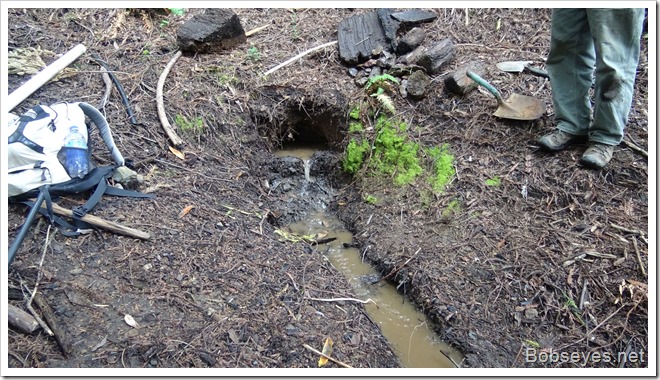
Here’s a close up of the hole with the temporary dam. The dam is soft dirt and needs to be replaced with clay. I had John dig a channel through the old dam to let the water out so we could work on tapping the spring.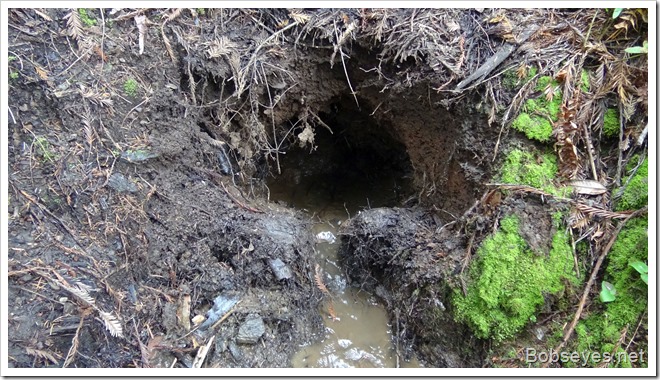
My job was to supervise, tell John what to do and he’d do all the work which was ok with me.
The parts we need
I showed John the parts we needed to install. The two inch pvc pipe with the green strainer and the stainless steel box. The green strainer can be had a home depot and is for a screen for downspouts for houses so can be found in the downspout area. The two inch pvc pipe has a 90 degree elbow with a short piece of pipe for the green thing to fit over. The short piece of pvc pipe needs to be ground down just a little to let the green thing slide onto it. It can be done with a file or grinding wheel and does need to be perfect or leak proof. I just push the green thing on with no screws or anything to hold it together as the clay will do that.
The stainless steel screen might be harder to come by. I used a piece of stainless steel screen and cut it it to form the box. Other types can be substituted, but the stainless is the best, but sometimes you have to use what you have.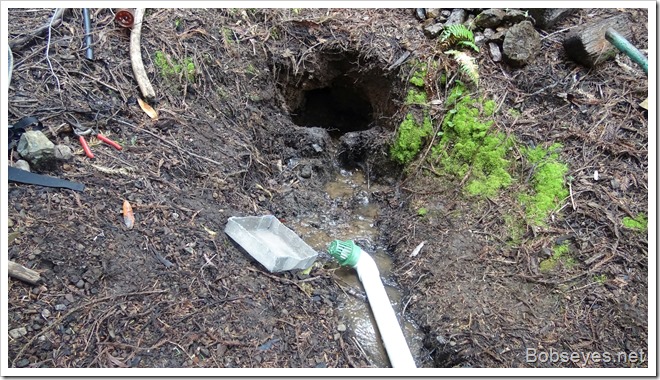
Laying in the pipe
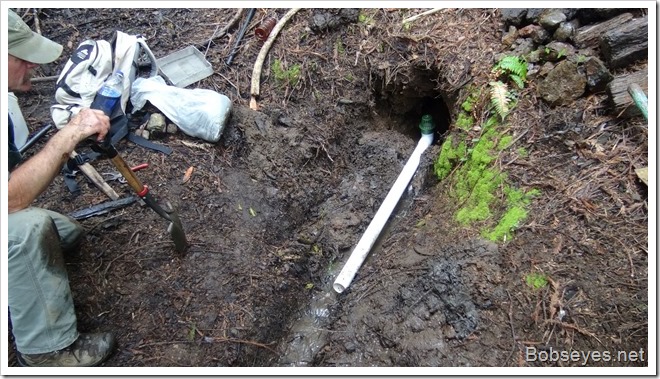
I had John lay the pipe in the ditch to get an idea of what we needed to do.
We needed to sink the pipe into the ground so the green things lip was just below where the water was coming into the hole and still have a slight slope to the pipe so the water will drain properly.
So John had to dig out the outlet ditch to sink the pipe properly and also so the black outlet pipe didn’t go up any hills. We want all the pipe to drain down with no up hills as that will likely cause a problem with air locks, so no ups an downs on the outlet pipe, only downs.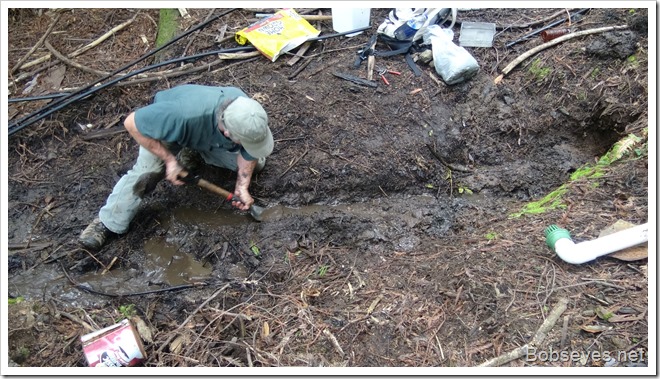
Installing the pipe with clay
John installed the pipe and started putting clay around the inlet forming a sort of sink, like what’s in a bathroom. You want the water to run in and drain down the spout, not forming any puddles around the drain. Basically you want the water to run in and right down the drain so a good slope to the outlet pipe is what’s needed. This is just a start, it needs much more clay yet.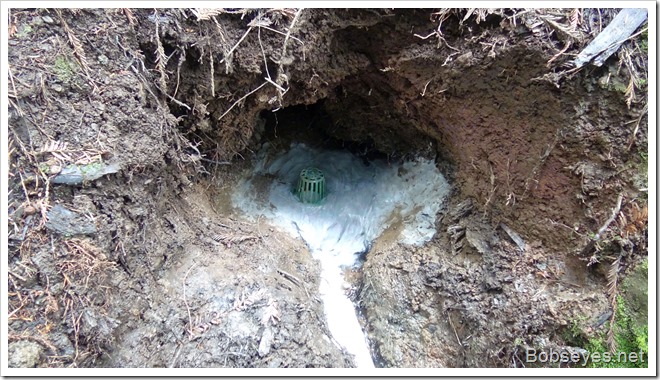
As it turned out some of the ceramic clay John had had dried out and was no good, so we needed some more clay. I’ve done this with the premixed ceramic clay you can buy but the blue clay that can be found around these springs is much better to use.
Needed more clay
So we needed to find some clay, so I sent John off to another spring that was close by as we couldn’t find any good clay where we were.
John located some good clay, even though it wasn’t blue, it was tan and a fairly good clay to work with.
Here’s John digging a bucket of clay to take back to our project. And yes, John likes to play in the mud. :O)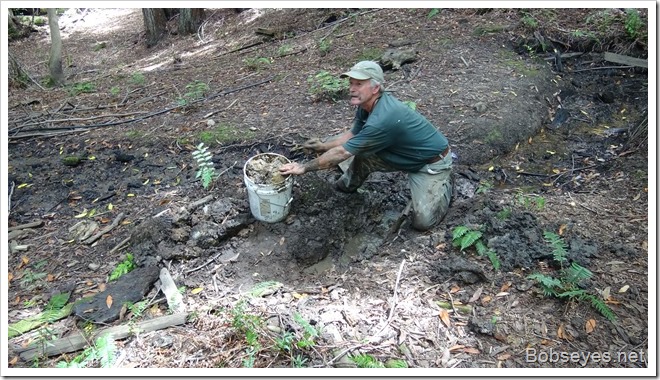
Forming the sink and the dam
So I had John take out some of the bad ceramic clay we had put in and replace it with the new good clay. He started to form the dam, with the sink around the outlet.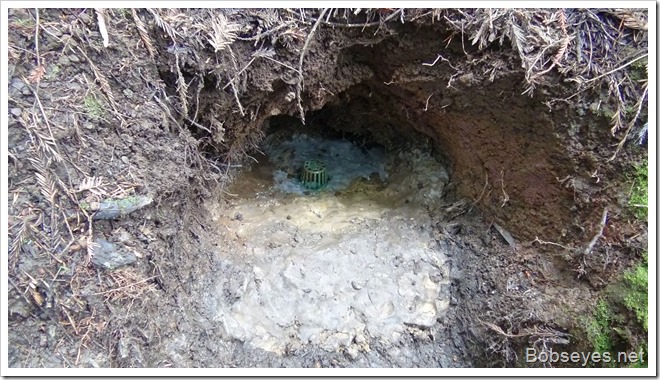
This starts to show what we were doing. The dam just has to be a a bit higher than the outlet screen. Not too high or it’s just more work to make this all work and more materials too, so keep it small, that’s important.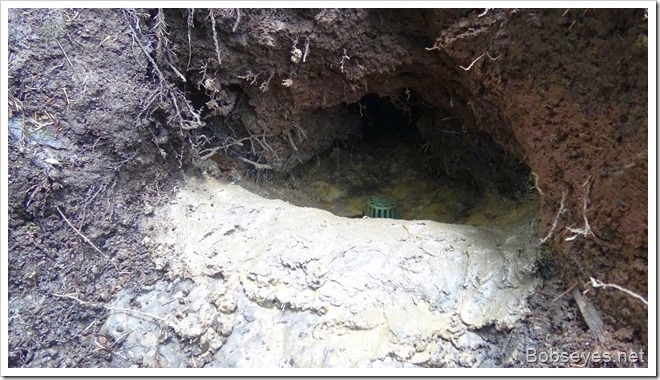
Ok, so the clay sink was formed and the dam mostly formed. The dam is to keep the water going into the drain, but also in the winter there may be too much water for the outlet to handle so the excess water has to be able to get over the top of the dam to get out and go down the hill.
Installing the screen
The screen is installed by pushing it down into the clay and making sure the sides are all in some clay. The screen keeps stuff from going down the drain and also is small enough to keep tree roots from growing into the system. A lesser screen might mean you may have to remove tree roots that plug up your spring once in awhile as roots plug up must springs eventually. The screen installed.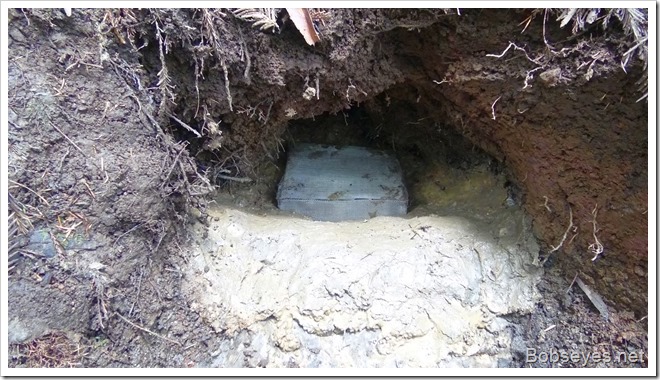
Here’s a backed out view of the screen in the hole. Note the dam is just a few inches above the top of the screen. We want all the water that comes into the sink to go down the drain and not back up any. In other words we want all the water that comes in to go down the drain with none puddling in the sink as that’s would just make a place for a critter to live, like a salamander.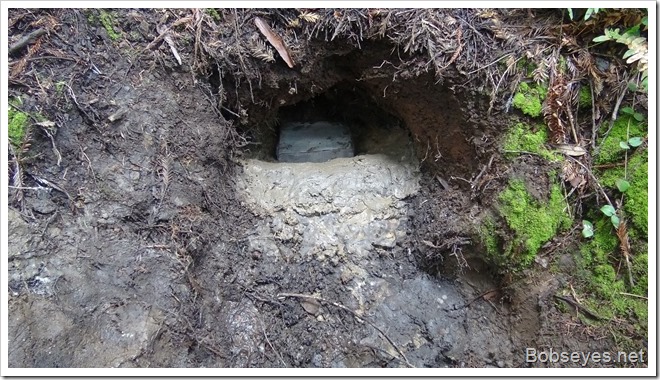
Rocking it in
Once the screen is in place it’s time to place some rocks to fill the hole up. Most any kind of rocks will work, I like none round ones as the cracks is what lets the water get to the drain. Note there is lots of surface area on the screen box, so if one side starts to plug up, the water can work it’s way around to the other side and keep the spring flowing down the pipe and working properly. Just starting to install the rocks.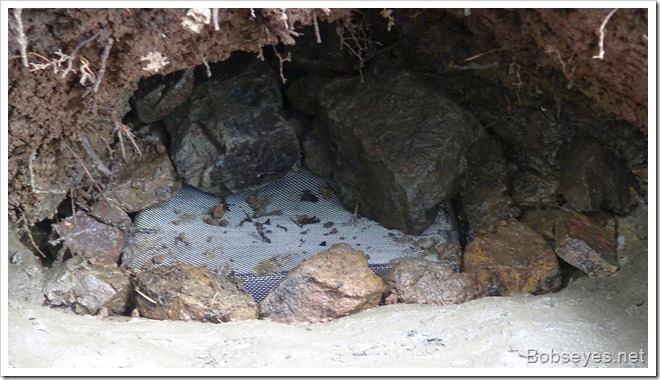
Getting more rocks
At this point we needed to get some more rocks so we needed to go for a ride which was a good time to see some of this ranch.
Ann, the lady that owns the ranch came by a bit earlier so she rode up the hill with us to this spot were we stopped to enjoy the view.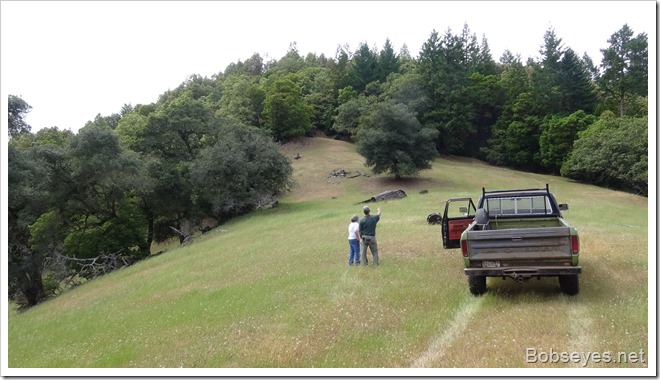
We’d passed by this pile of shale rocks by the side of he road coming up, so on the way back we stopped and John filled up two buckets of rocks which he is collecting here.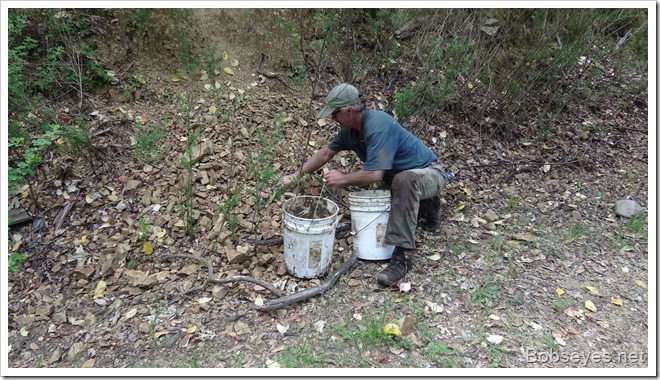
Filling the hole with rocks
Now that we had more rocks we continued to fill in around the screen and fill up the hole with rocks so no critters could get in.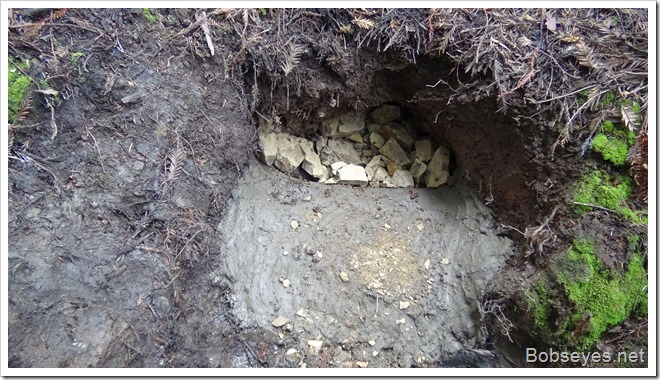
Plastic on top
At this point one could add some smaller rocks to seal it up, with dirt on top of that, but I like to put some plastic over the rocks pushing it around the edges of the hole and over the dam so excess water can get out over the dam.
John is placing the plastic from a chicken feed bag. It’s held down with some of the rocks. Dirt can also be shoveled over it it you really want to seal it up. If later you need to get into the spring, you just peel the bottom edge of the plastic back over the dam and remove the rocks to repair or clean it out. But hopefully you won’t have to do that often if you install this properly as it shouldn’t plug up easily.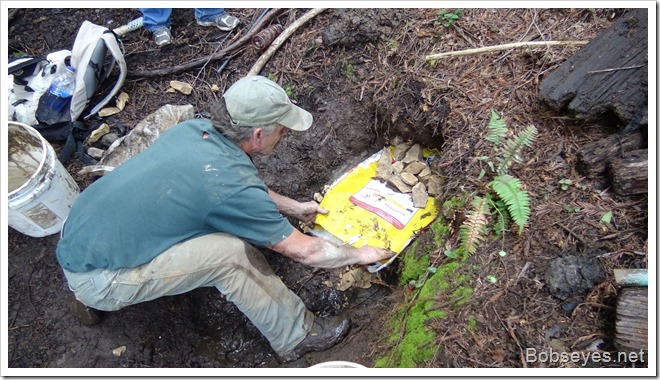
Keeping critters out
Now you could put another big piece of plastic or some metal over this or some wood which we did because that’s what we had. It could also be covered up with dirt at this point. We have wild pigs in this area so that is our main concern as we don’t want them in this.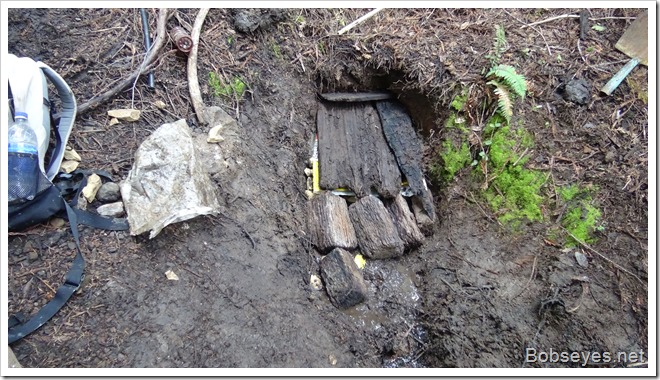
Hooking up the black pipe
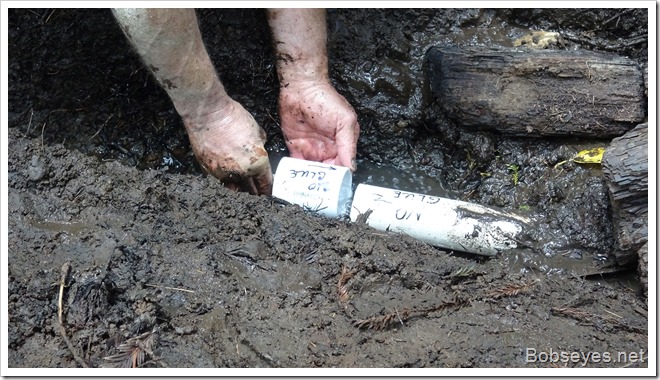
Next we needed to hook up the coupler. I don’t glue this as it needs to be able to be pulled off to check for water and maybe cleaned out. Any roots that grow in the pipe can be pulled out through this spot if need be.
I have a reducer screwed into the coupler with a reducer bushing to hold a piece of plastic pipe that fits into our black plastic pipe with a clamp. I should mention that I don’t like to use the barbed couplers they recommend for plastic pipe as they are hard to seal and they are also hard to take apart when working on a plugged up pipe.
What I’ve found works better is a smaller piece of pvc pipe. If you use one inch black plastic pipe, a three quarter inch piece of pvc pipe should just fit inside the black pipe. Three quarter inch black pipe takes a piece of half inch pvc pipe and so on. Much cheaper than barbs and much easier to work with.
This shows the no glue coupler and the reducer to the black pipe. we did put a clamp on the black pipe.
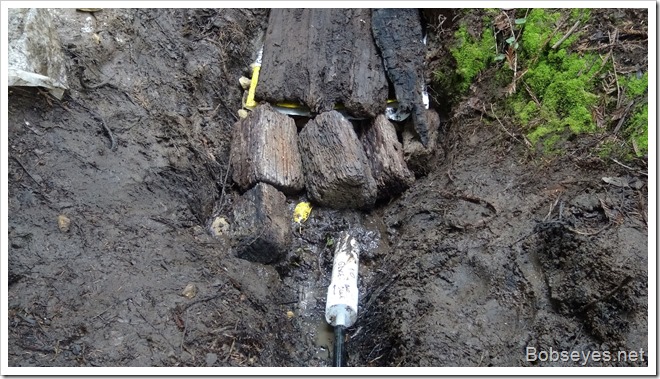
We need to get another piece of two inch pvc to extend this cleanout further out so it’s exposed and not in that hole that will fill up with dirt soon and hide the clean out. But for now this will do.
We threw some wood stuff in there to deter the wild pigs. There’s plenty of muddy springs in the area, so they don’t have a reason to dig in this one. The spring tap is really in the hole and not out where it can get contaminated. This whole thing could be covered up with a bigger piece of plastic if need be or something in that order.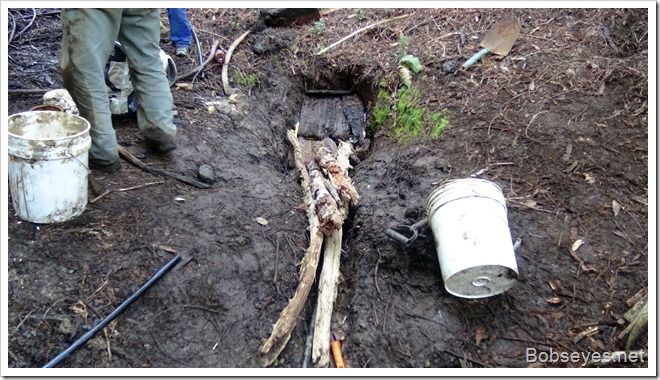
We picked up the tools and went on down the hill checking the pipe to the water tank to make sure it was working and it was. All that water was going into her stainless steel tank at no cost.
You can do all kinds of variations on this, but this is what I’ve found works best in our area. I used to use smaller pipe than the two inch pvc, but I found it tended to plug too easily with silt, so changed to the two inch pvc pipe with the clean out.
Important to keep it small
One main thing I will reiterate is to keep this small. Small takes less work and less materials and it’s harder to contaminate with critter and bird poop and stuff.
We went on home for the day and that was about it.
I did take some video of of the process and will eventually get it up on my channel on Utube and provide a link to it here when and if it gets done.
Low cost, easy to build sanitary spring tapping for water video
I’m not sure of the stainless screen size. It’s small, 1/16 inch or less. It’s small enough that roots don’t grow through it, nor do they grow through the blue clay found around springs I like to use for the dam. The screen is a box on purpose to provide enough surface area to help prevent the screen from plugging up easily. I Like at least 6×6 by two or three inches deep so I can push it into the clay. It took me a long time to get away from spring boxes as that is all that everyone used in the olden days. This method works much better for a lot of reasons.
Have fun.
Thanks for the reply Bob!
This is WAY better than the other methods I’ve seen!
We have some left over 1.5″ black poly pipe that I’m gonna run right off the 2″ elbow via a threaded reducer insert and a barbed connector. Found a nice stainless wire ‘bulb’ strainer in our local hardware store that fits right into to the 2″ elbow:
https://www.homedepot.ca/product/peak-products-aluminum-gutter-outlet-and-leaf-strainer-combo/1000183300
What mesh size is the screen? – 1/8″ or smaller? It looks pretty fine..
Is it possible to convert a larger spring from the 70’s into a smaller footprint to make room for a storage tank? Trying to modify our current spring to feed two houses, and running out of space.
I’d say yes. Most of the older springs were put in with larger boxes But most springs are really just a small stream coming out of a hill. The method I show is the way to tap a spring especially if you want to keep it small. I don’t know of anyone tapping springs in the seventies using my method because every one was in the box method including me at that time. Read all the comments and there is more info on what you need to do. It’s really very simple and not complicated like most other methods.
Bob
Great job, nice video, what a team! Every gun needs at lease one bullet and it looks like John is the man!
Very interesting!